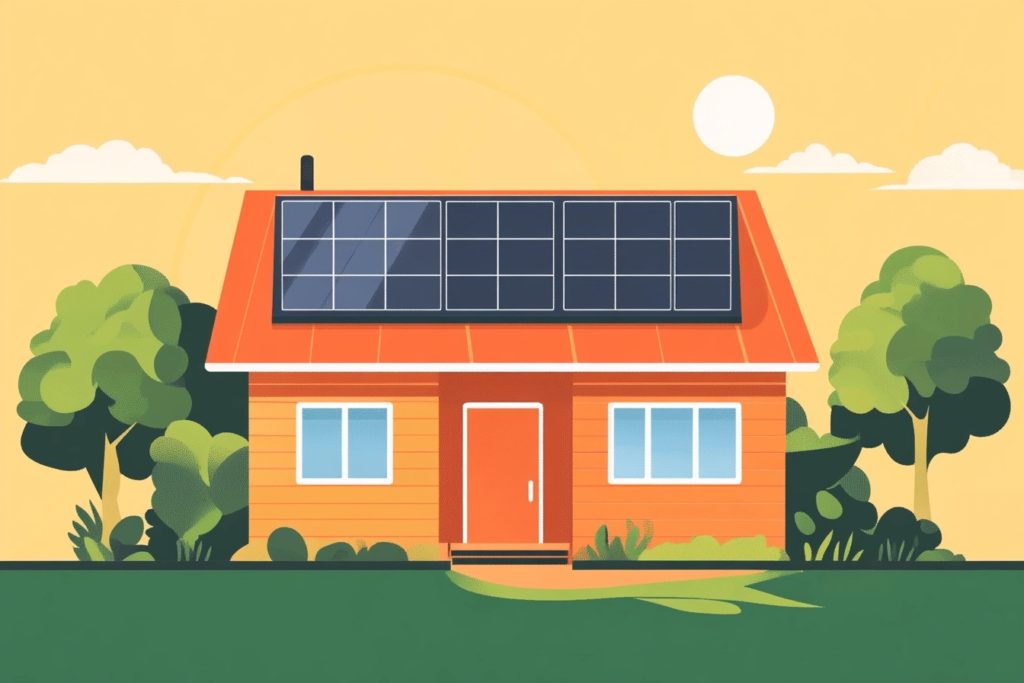
Solar panels are a great way to harness renewable energy and reduce your carbon footprint. However, to ensure they operate at peak efficiency, it’s essential to keep them clean. Dust, dirt, pollen, and bird droppings can accumulate on the panels and significantly reduce their ability to absorb sunlight. Here’s a comprehensive guide on how to clean your solar panels effectively and safely.
Step 1: Safety First
1. Turn Off the System: Before you start cleaning, make sure to turn off your solar panel system. This step is crucial to avoid any electrical hazards. Refer to your system’s manual for instructions on how to safely shut it down.
2. Check the Manufacturer’s Instructions: Consult the manufacturer’s guidelines for any specific cleaning recommendations or warnings. Some manufacturers may have specific cleaning methods or restrictions to avoid voiding the warranty.
Step 2: Gather Your Supplies
You don’t need any fancy equipment to clean solar panels. Here’s a list of basic supplies you’ll need:
- Soft brush or squeegee with a long extension
- Hose with a gentle spray nozzle
- Bucket of lukewarm water
- Mild detergent (if needed)
- Soft cloth or sponge
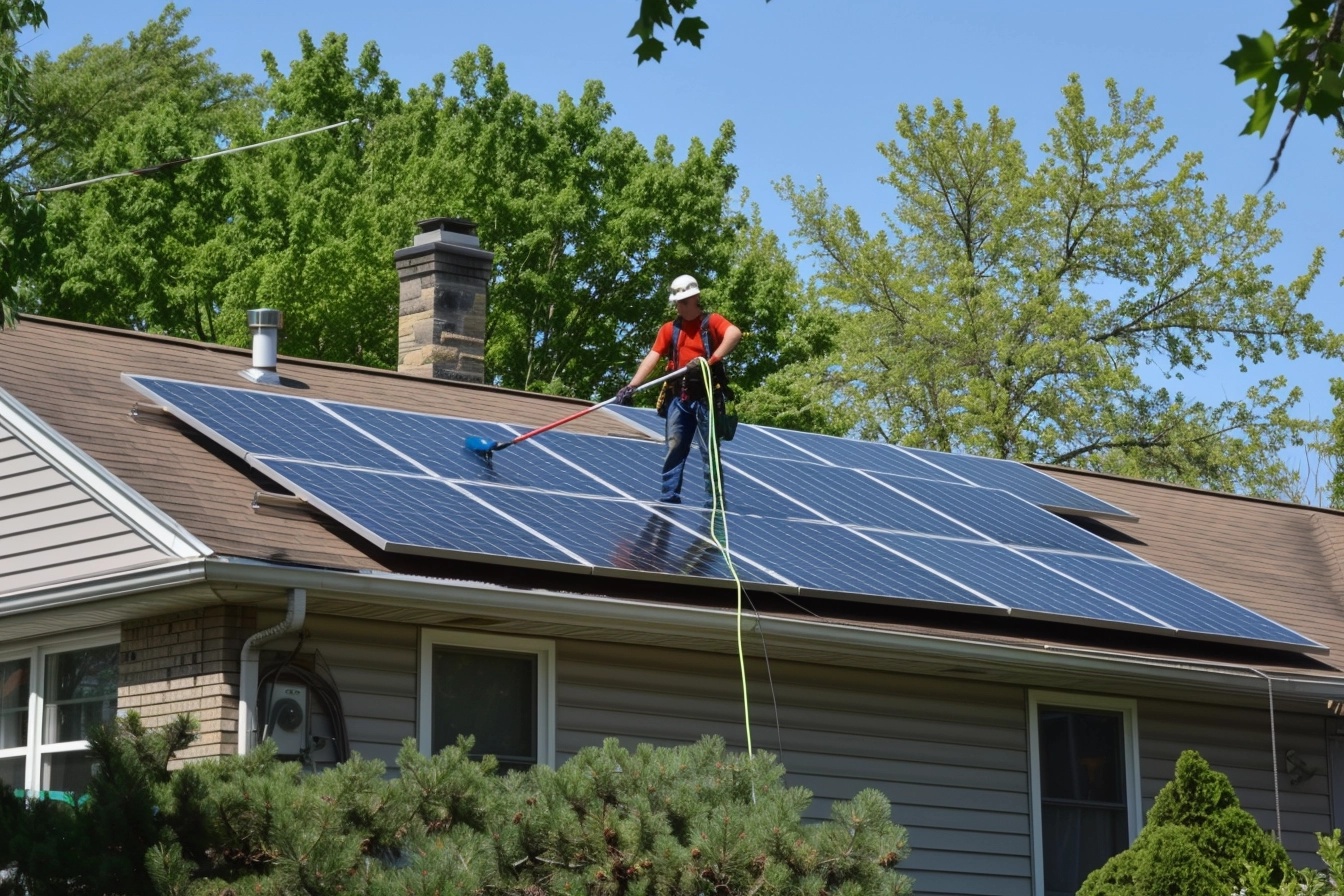
- Safety harness (if cleaning rooftop panels)
- Ladder (if necessary)
Step 3: Choose the Right Time
The best time to clean solar panels is either early in the morning or late in the afternoon. During these times, the panels are cooler, reducing the risk of thermal shock or damage from rapid temperature changes. Additionally, cleaning in cooler weather helps prevent the water from evaporating too quickly, which can leave streaks or residue.
Step 4: Remove Loose Debris
Start by removing any loose debris, such as leaves or twigs, from the surface of the panels. You can use a soft brush or a leaf blower for this task. Be gentle to avoid scratching the surface of the panels.
Step 5: Rinse with Water
Use a hose with a gentle spray nozzle to rinse the panels with water. This will help remove dust and loose dirt. Avoid using high-pressure water, as it can damage the panels or the wiring underneath.
Step 6: Clean with Soapy Water
Fill a bucket with lukewarm water and add a small amount of mild detergent. Dip a soft cloth or sponge into the soapy water and gently scrub the surface of the panels. Avoid using abrasive materials or harsh chemicals, as they can scratch or damage the panels.
Step 7: Rinse and Dry
After scrubbing, rinse the panels thoroughly with clean water to remove any soap residue. Use a squeegee to remove excess water and prevent streaks. If necessary, wipe the panels with a soft, dry cloth to ensure they are completely dry.
Step 8: Inspect for Damage
While cleaning, take the opportunity to inspect your solar panels for any signs of damage, such as cracks, chips, or loose connections. If you notice any issues, contact a professional for repairs to ensure your system continues to operate safely and efficiently.
Step 9: Turn the System Back On
Once the panels are clean and dry, you can turn your solar panel system back on. Refer to your system’s manual for instructions on how to safely restart it.
Additional Tips:
- Regular Maintenance: Clean your solar panels at least twice a year, or more frequently if you live in a particularly dusty or pollen-heavy area.
- Professional Cleaning: If you’re not comfortable cleaning the panels yourself or if they are difficult to access, consider hiring a professional cleaning service.
- Monitor Performance: Keep an eye on your system’s performance. If you notice a significant drop in energy production, it might be time for a cleaning or inspection.
By following these steps, you can ensure that your solar panels remain clean and efficient, maximizing their energy production and extending their lifespan. Happy cleaning!